

You can install MongoDB using two different methods one is using .tgz tarball and another is using Homebrew. Here, we will discuss how to install MongoDB using .tgz tarball. Follow each step carefully :
- Go to mongodb-community and select the version 5.0.11. Make sure you choose macOS as the platform and 'tgz' as the file format and click the download button.
- Once the tgz file is downloaded, go to the macOS terminal (open Finder and go to Applications/Utility folder) to extract it. Most likely, your MongoDB will get downloaded in the Downloads folder. For this, type the following command in the terminal (change file name after tar command according to the file you downloaded):
cd Downloads/
ls
tar xzf mongodb-macos-x86_64-5.0.11.tgz
- Now, let us move MongoDB folder to your home folder. This will ask for your system password. Provide the password.
sudo mv mongodb-macos-x86_64-5.0.11 ~/mongodb
-
Next, you have to create the db folder. By default, MongoDB writes or stores the data in the folder called /data/db, but newer MacOS disallowed it. So let use set it data/db inside your home folder. The command for this will be
sudo mkdir -p ~/data/db
sudo chown $USER ~/data/db

Note: For changing the permission, you need to know your username first. To know your username, type the command: whoami
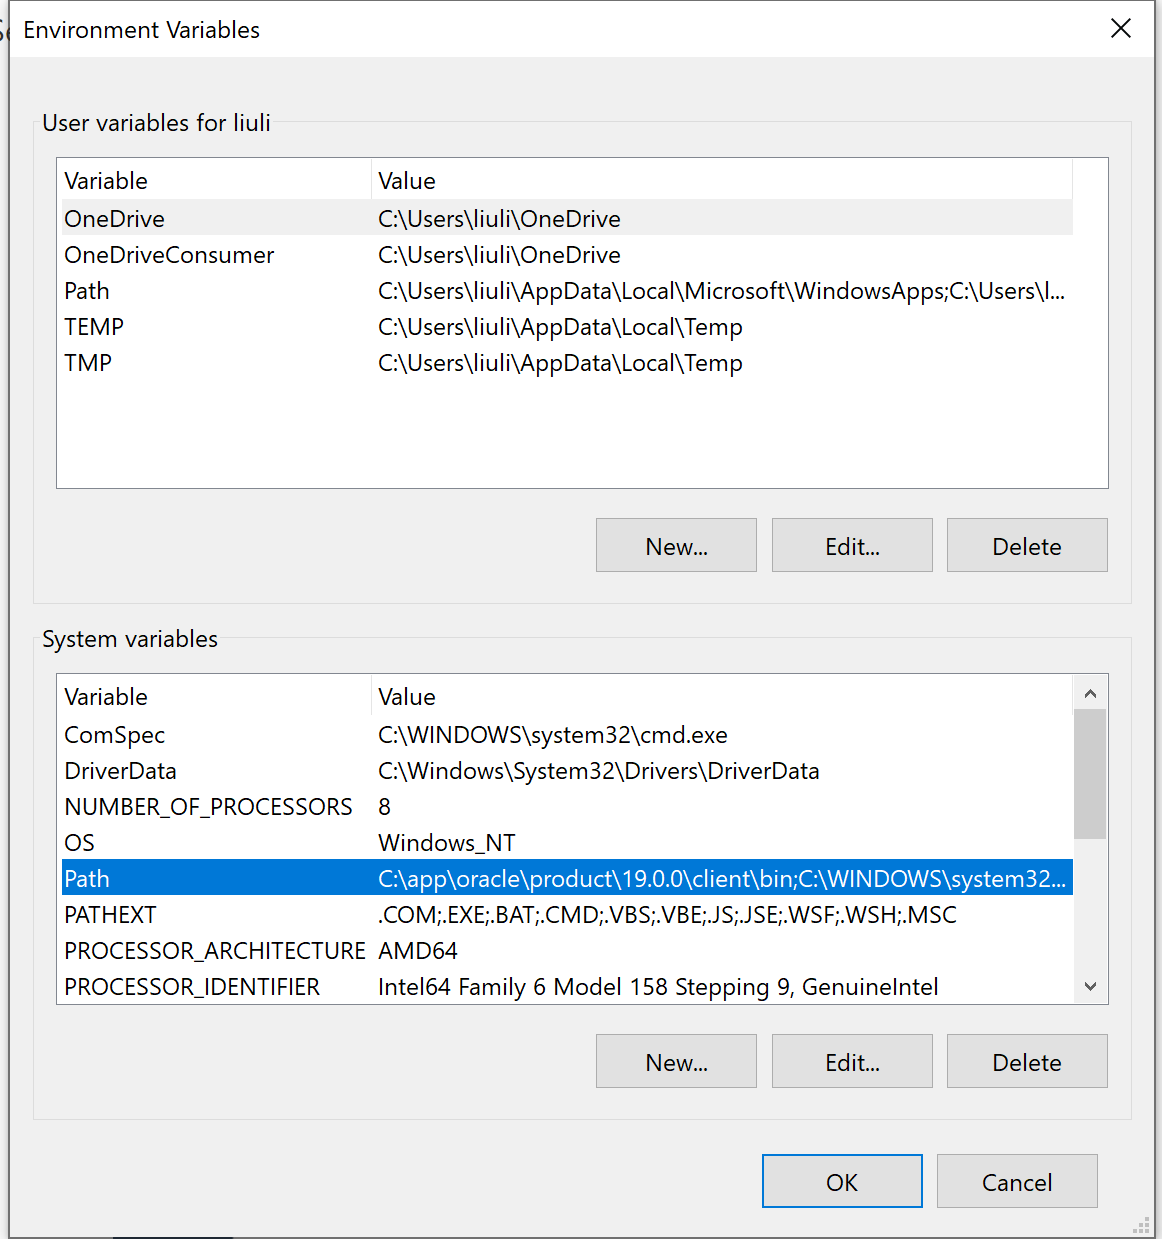
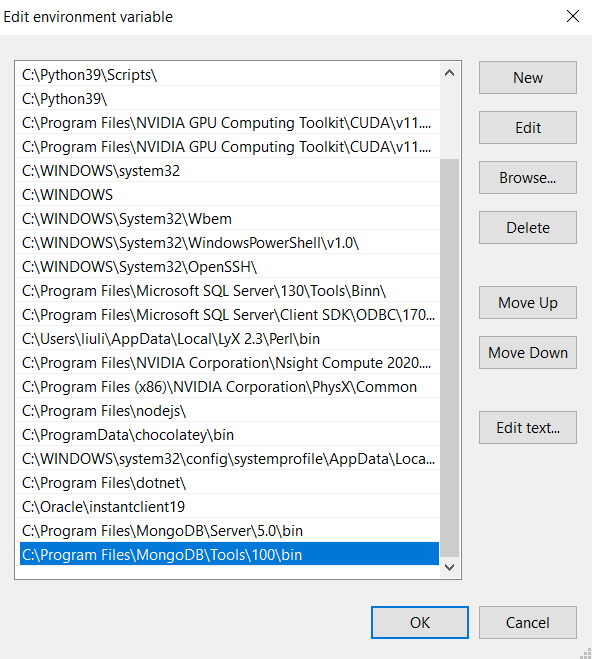
- In order to run mongo shell we need to set an environment variable or path. You can set your path in .bash_profile file If you are using Mojave OS or below, or you can set your path in .zprofile file if you are using Catalina or above. If you do not have .bash_profile or .zprofile, then you can create them inside the terminal by issuing the following commands:
nano ~/.bash_profile
At the end of the opened .zprofile file, enter the following line:
export PATH="~/mongodb/bin:$PATH"
Press CTR+ X to exit, and then run the .bash_profiel file using command or simply logout and re-login your Mac:
source ~/.bash_profile
Now you can run mongodb server using the command:
sudo mongod --dbpath ~/data/db
Here sudo mongod –dbpath ~/data/db command to start mongod server and ~/data/db is data directory. Note that your terminal will show a lot of messages in JSON format about the server status and responses. Don't close the terminal or the mongodb server will stop.
Run Mongo Shell to access the mongoDB server. Oen a new terminal window to mongo shell by the command command
mongo
Now you are connected to your running mongodb server. Type quit() to exit the mongo shell
Important Point: For Catalina users when you run mongo or mongo –nodb command in your terminal, your macOS would not allow to run mongo. So, to run mongo you need to give them permission manually, i.e, System Preferences > Security & Privacy > Allow Anyway. Same procedure to run mongod.
Installation of Cmder and Atom on Windows (optional)
In order to run mongoDB commands, it is convenient to have access to a command line tool and a command editor. Cmder and Atom allow us to have both in one place.
First, download Cmder full version from https://cmder.net and then unzip it to c:\cmder folder. You can start using cmder by clicking cmd.exe file.
To install ATOM, go to atom.io to download Windows Installer. Run the downloaded AtomSetup.exe file. Atom will launch after the installation is complete. After installation, you will see
- An Atom desktop shortcut is added
- An Open With Atom context menu is added to the Explorer for selected files and folders
atomandapmare added to thePathenvironment variable so they can be run from the Command Prompt or PowerShell.
To Iintegrate Cmder into ATOM:
- Open Atom
- Go to File --> settings
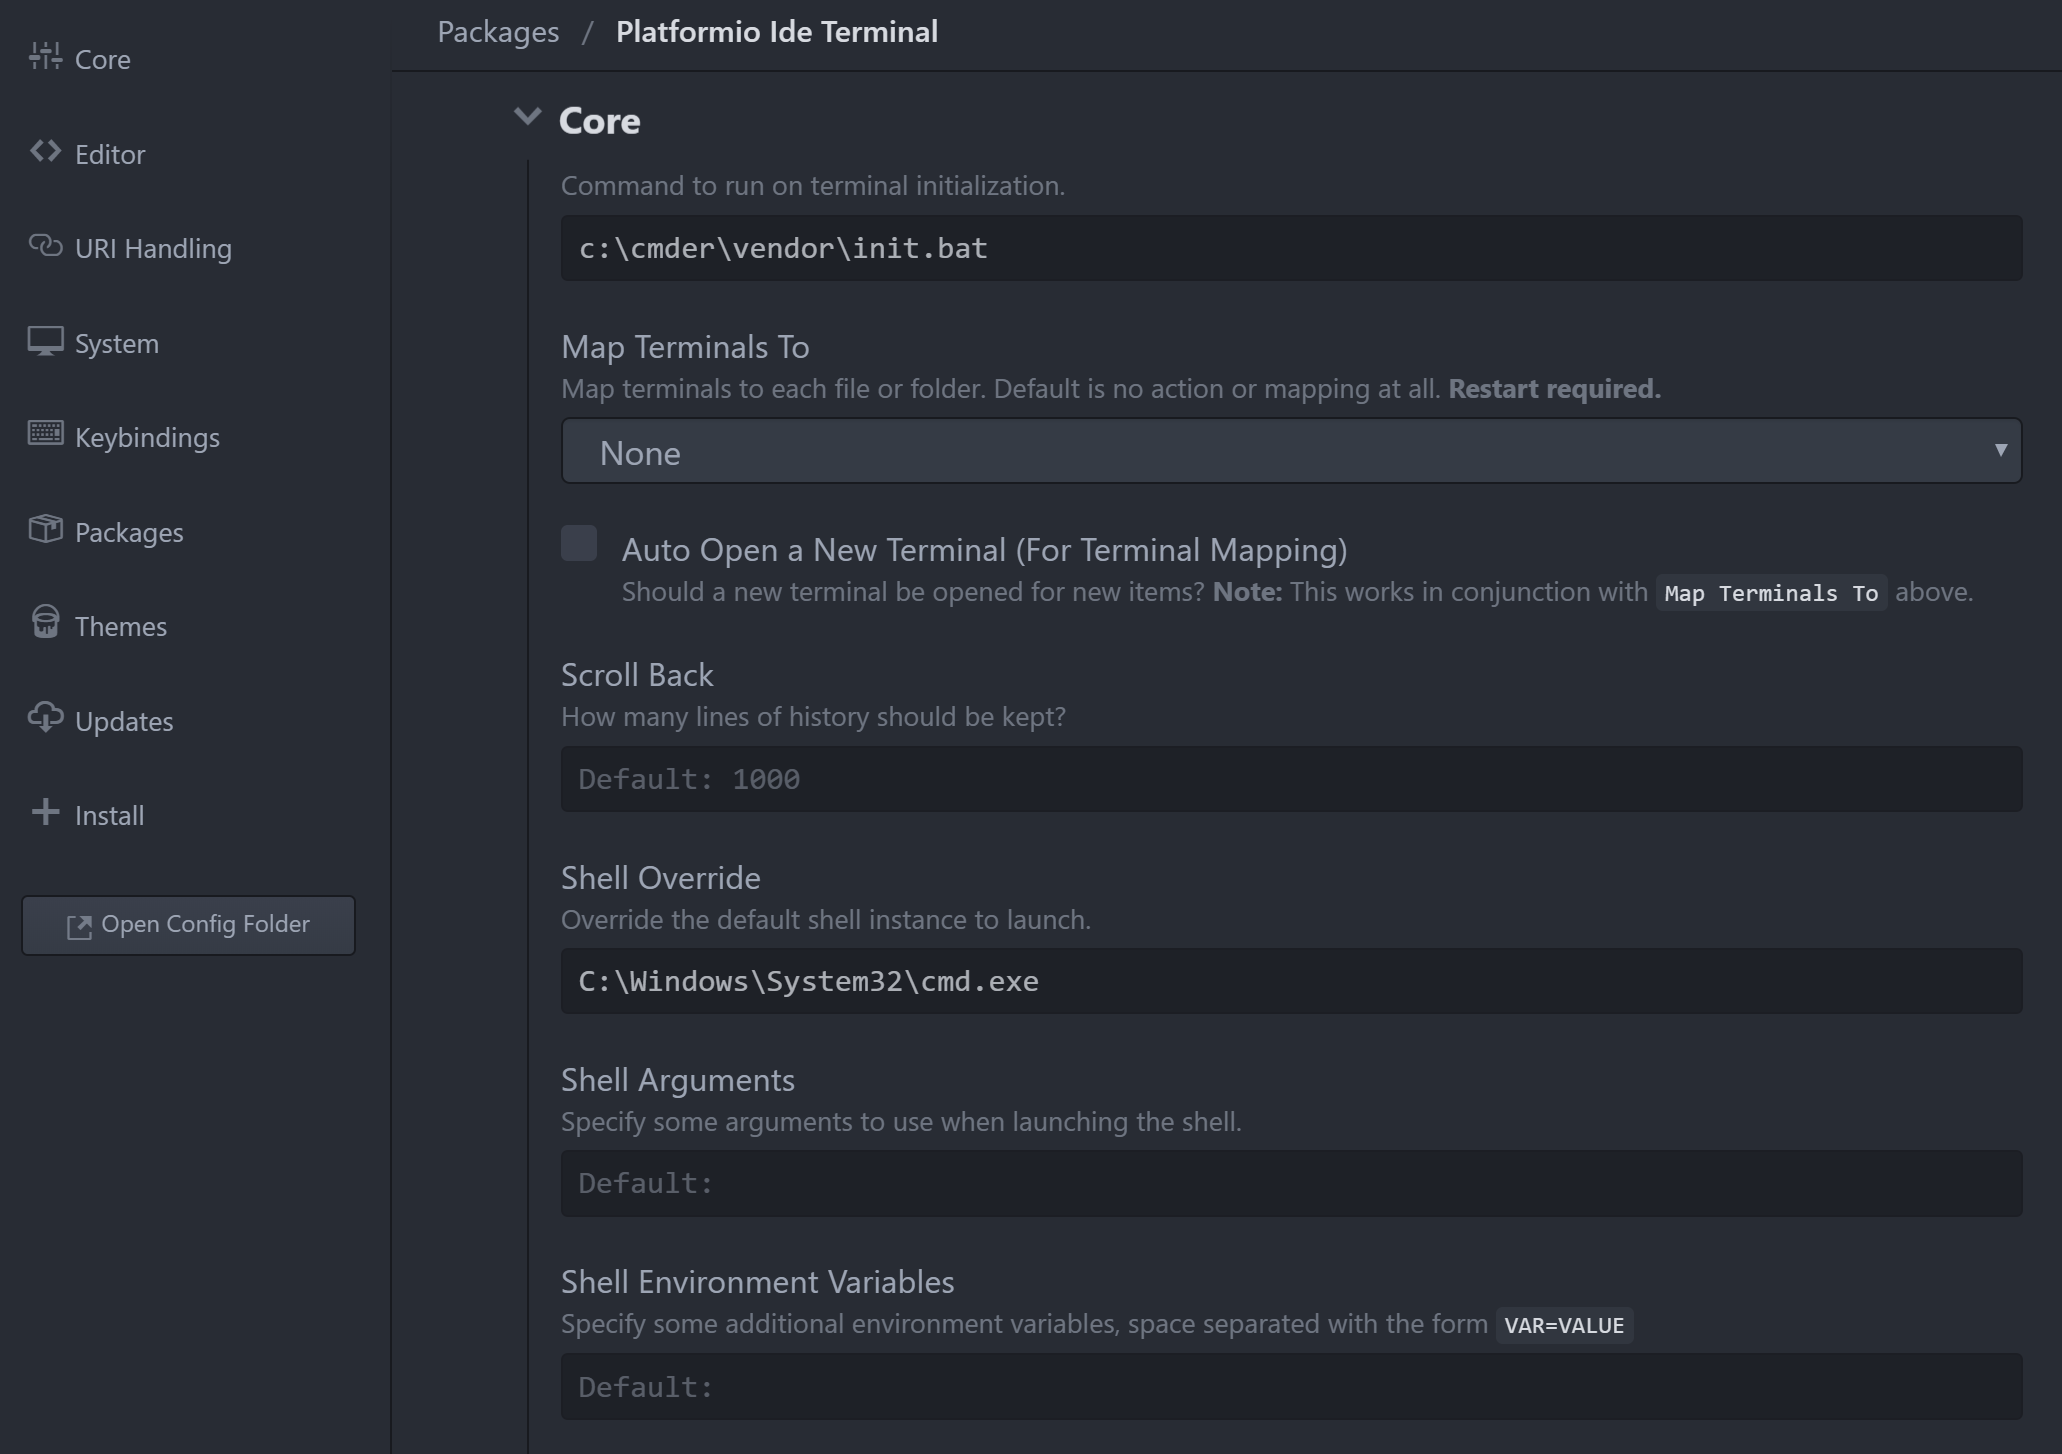
- Find the package Platformia-ide-terminal (install it if you do not have it yet):
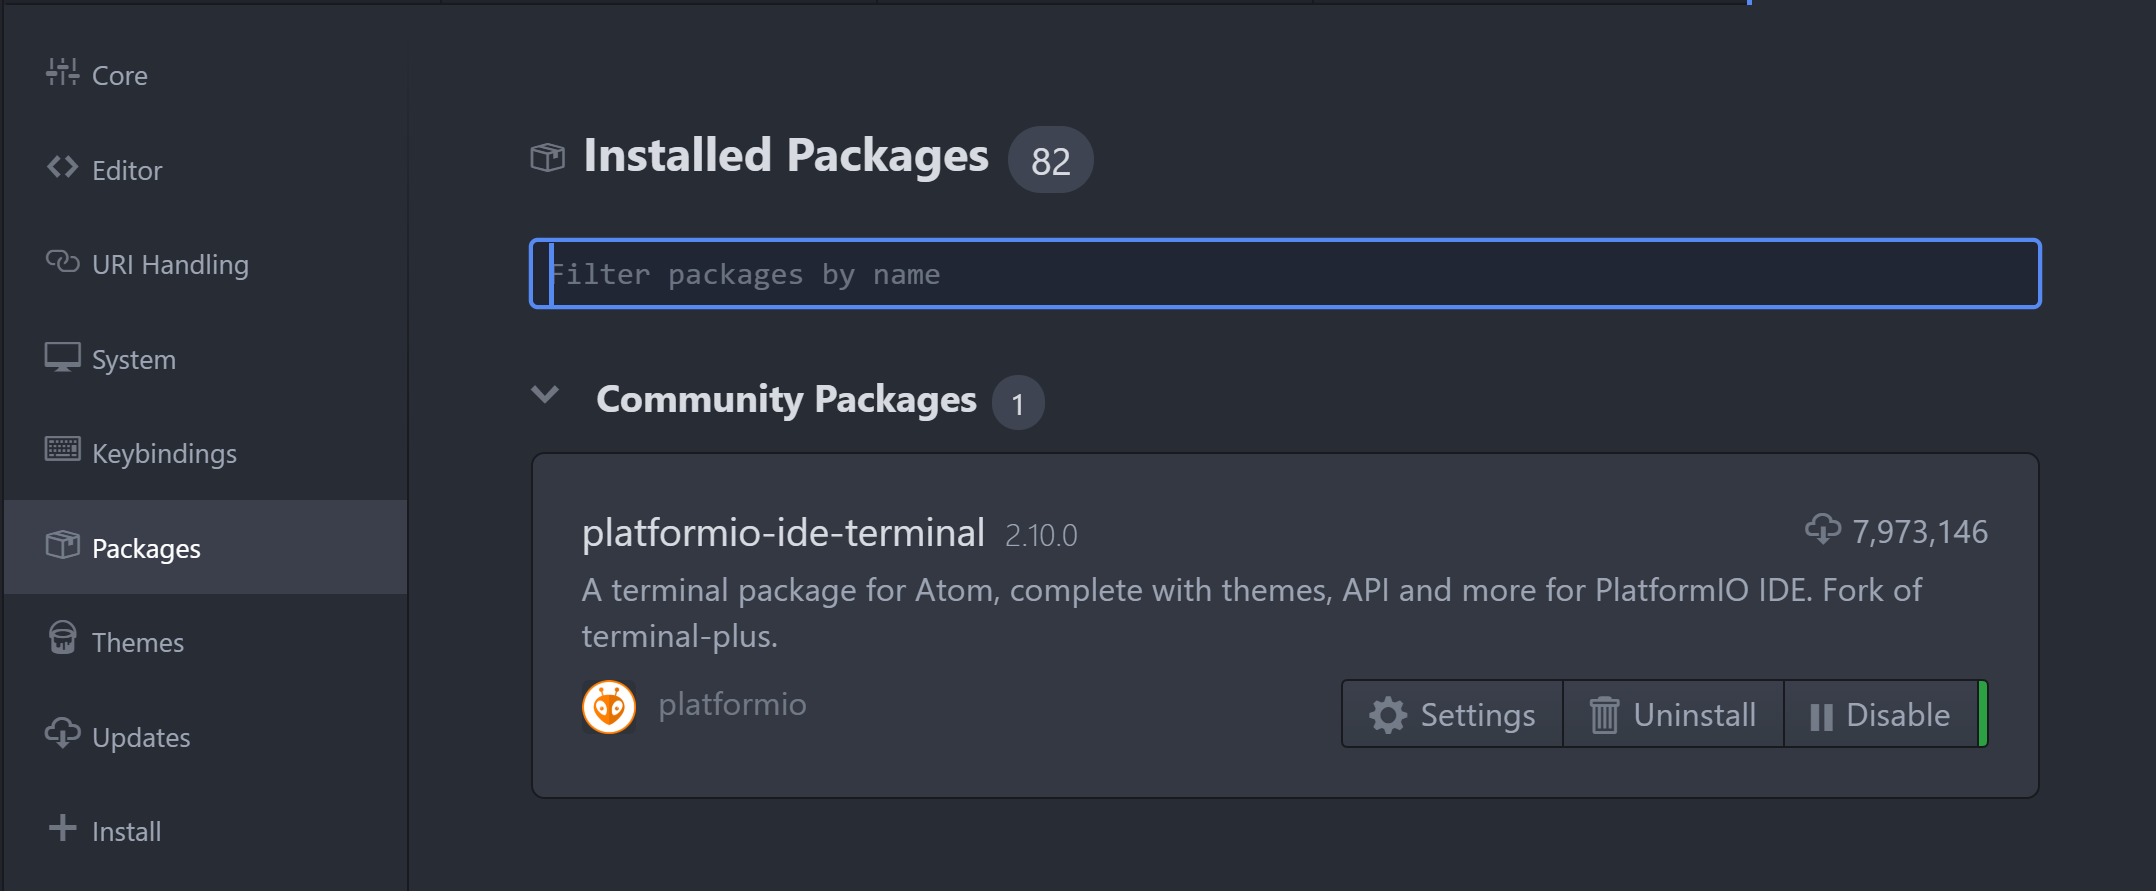
- Click on the setting button for Platformia-ide-terminal (see below) and enter c:\cmder\vendor\\init.bat as Command to run on terminal initialization and C:\Windows\system32\cmd.exe as Shell Override: